SSIS Attunity Oracle Connector Example Step by Step
Step1 - Environment Setup:
- Download the SQL Server Developer version from Microsoft sites Microsoft® SQL Server® 2008 Enterprise Evaluation: Trial Experience for IT Professionals (http://www.microsoft.com/en-us/download/details.aspx?id=1279).
- Download the Attunity connector from Microsoft site. (http://www.microsoft.com/en-us/download/details.aspx?id=29284)
- Install the SQL Server 2008 and Attunity connector.
Step 2 - Create Simple Integration Service Project in BIDS
Step 3 - Choose the Oracle Source & Oracle Destination
- Open the Toolbar and click the choose item.
- Select SSIS Data Flow Items section in the popup window.
- Select the Oracle Source and Oracle Destination.
Step 4 - Click the Control Flow and Drag the Data Flow Task
Step 5 - Add Oracle Source in the Data Flow Task
- Click the Data Flow Task Component then you will be moved to Task Flow editor.
- Add the Oracle Source control from Toolbox.
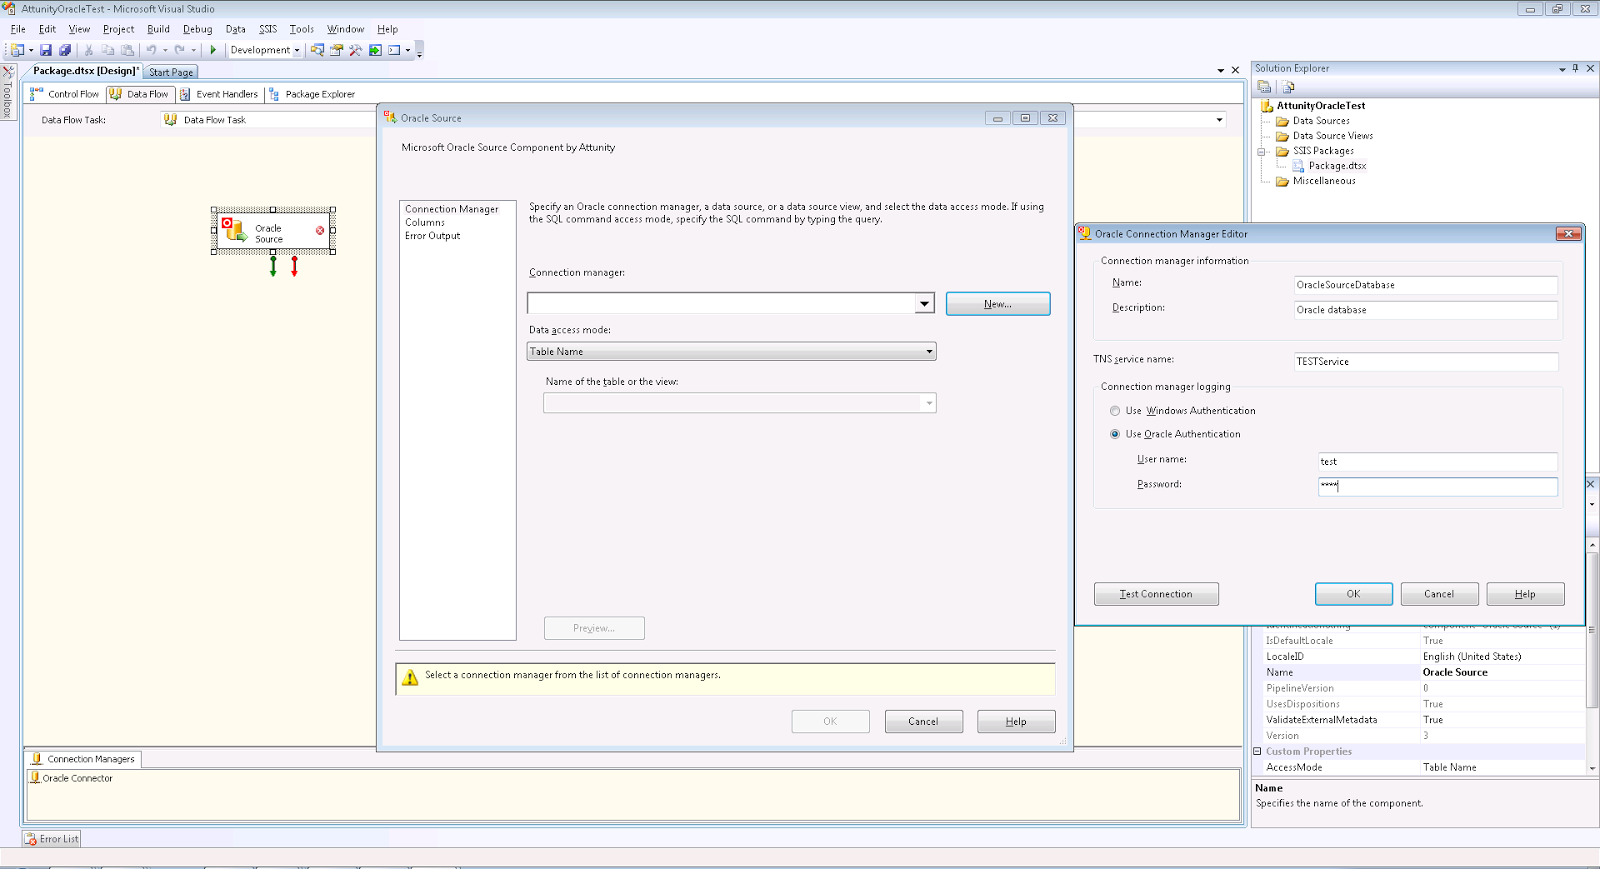
- Double click the Oracle Source Control and Configuration window will open.
- Left side select the Connection Manager.
- Click the new button in the Connection Manager
- Add the Oracle connection details like connection name, TNS name (from tnsnames.org file), user id and password.
- Click the test connection to test the connectivity.
- Click OK button and select the connection in Connection Manager Drop down.
- Select the SQL Command in the Data Access Mode drop down.
Step 6 - Add the SQL Server Destination.
- Add the SQL Server Destination control from Toolbox.
- Double click the SQL Server Destination Control and Configuration window will open.
- Left side select the Connection Manager.
- Click the new button in the Connection Manager
- Add the SQL Server connection details like Server name, Authentication Mode, user id and password.
- Click the test connection to test the connectivity.
- Click OK button and select the connection in Connection Manager Drop down.
- Select the destination SQL server table name in the drop down Use a table or view.
Step 7 - Mapping the Source and Destination Columns.
- Click Left side select the Mapping section.
- You can see the Source and Destination columns.
- Map the source and destination columns.
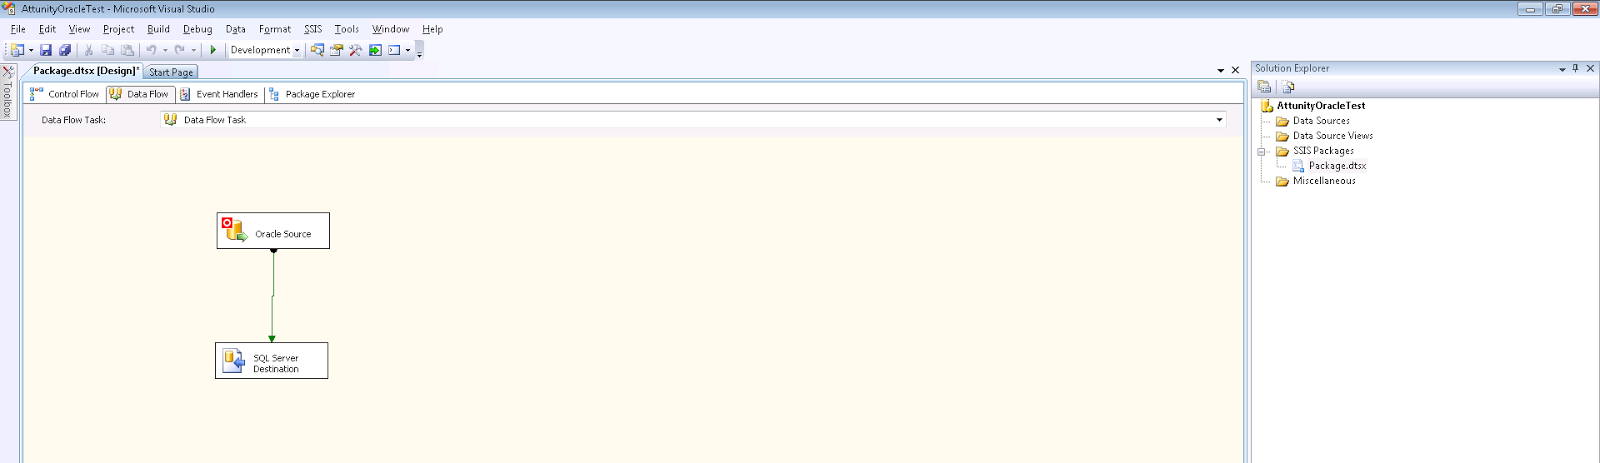
Step 8 - Add the transaction link between Oracle Source and SQL Server Destination.
- Click the Oracle Source output transaction to SQL Server destination control.
- Configure the error transaction.
Step 8 - Run the project.
Conclusion : Attunity is 20% faster than OLE Source.